Home » Posts tagged 'Assistive Technology'
Tag Archives: Assistive Technology
How to Use Picture-in-Picture Chrome Extension
Suppose you don’t have a TV or Tablet to watch a documentary or something while working can be frustrating. I have found a way to have a pop-out screen for when you are working on other things on your computer.
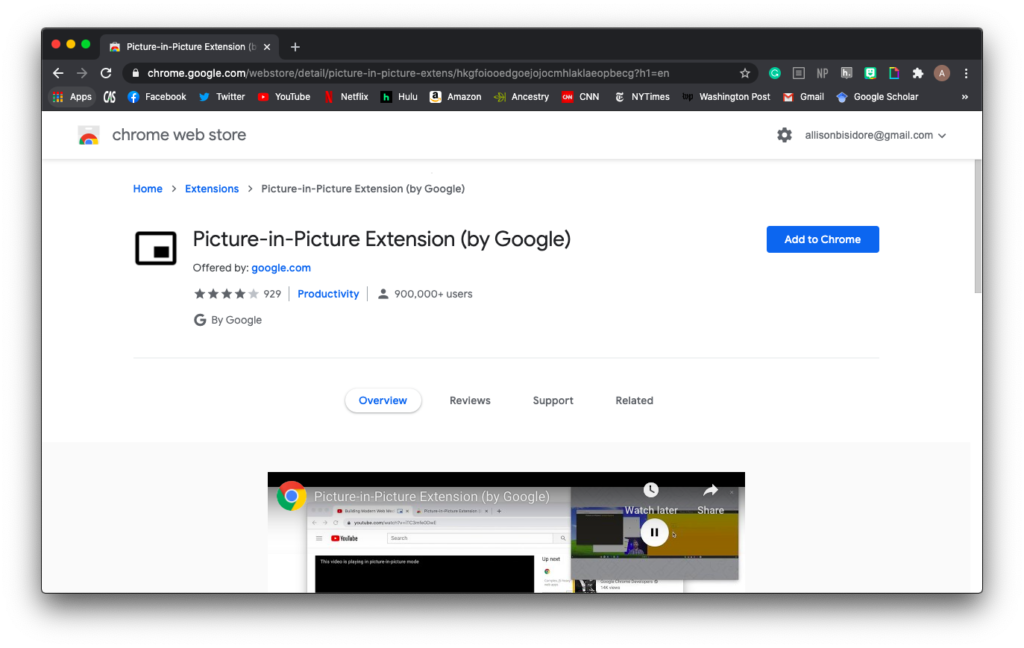
Like any Chrome extension, you have to go to the Chrome Web Store and search Picture-in-Picture Extension. I use the one created by Google.
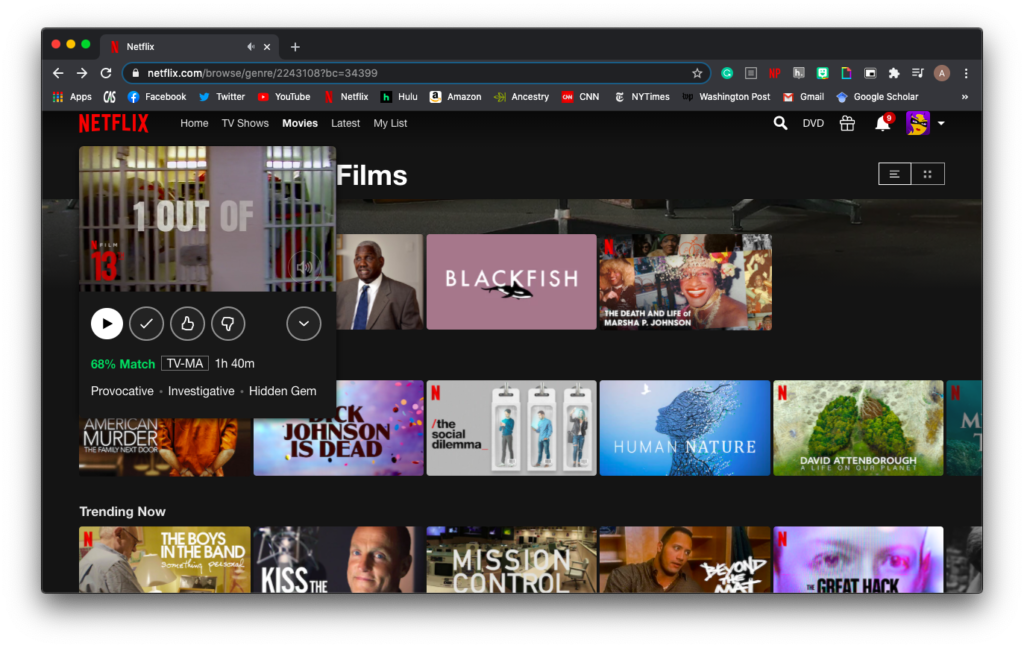
Once you add the extension to your browser, it is pretty easy to use. This can be used on any video streaming service whether that be Hulu, Netflix, HBO Max, and even Youtube. Start by going to where you’d like to the platform you will be watching on. I will be using Netflix as an example.
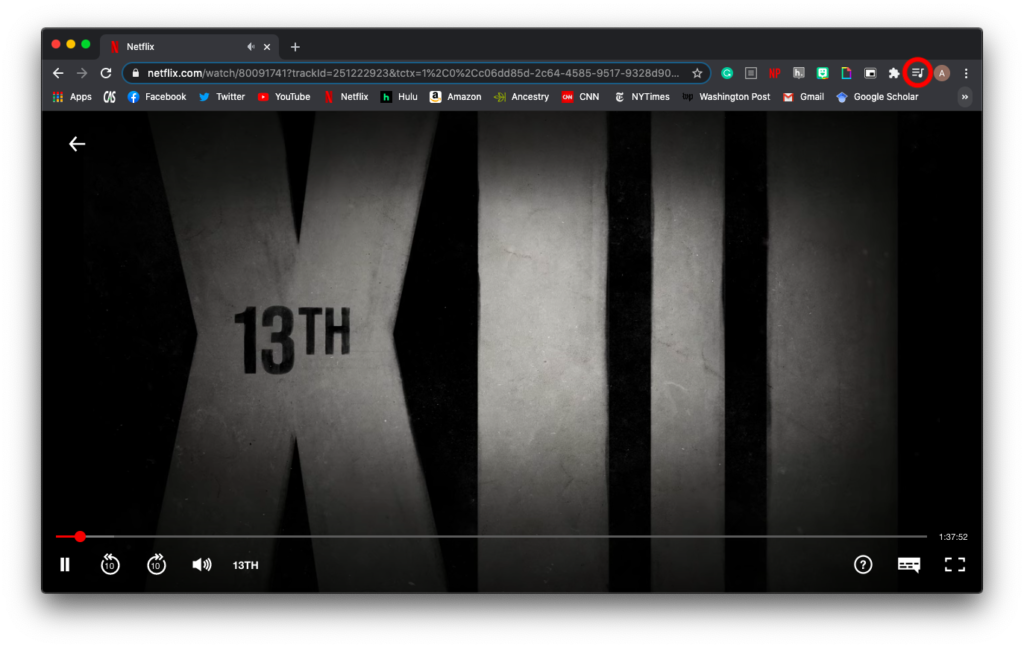
Click on the movie or show you’d like to watch. Once it starts playing, look to the right-hand corner of your web browser, there will be an icon with a music note attached to three horizontal lines.
Once you click on it will give you the option to click on picture-in-picture, making the video separate from the chrome browser.
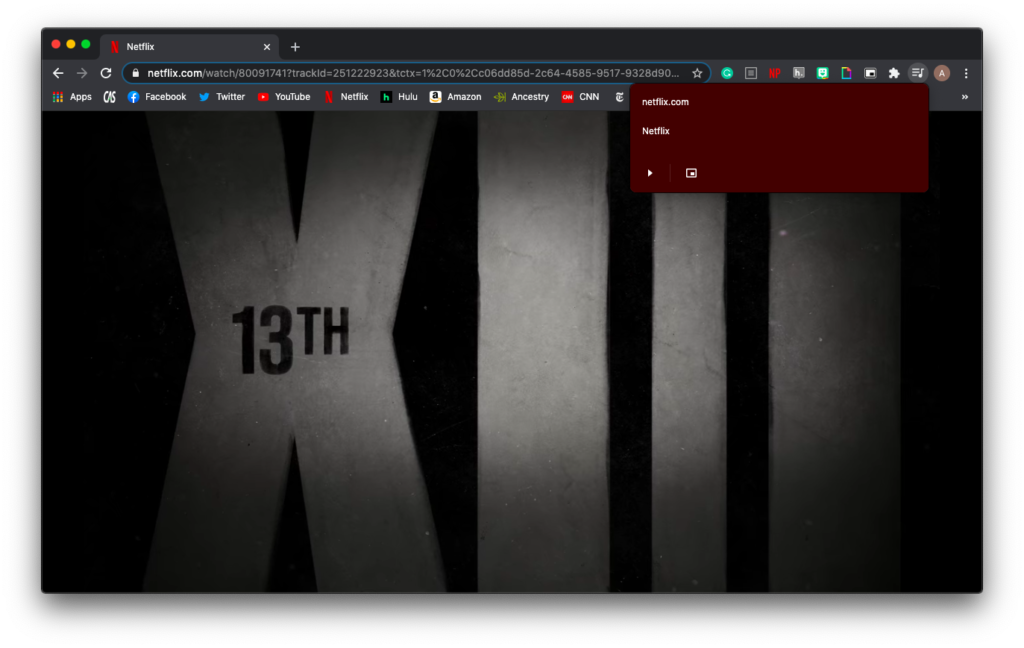
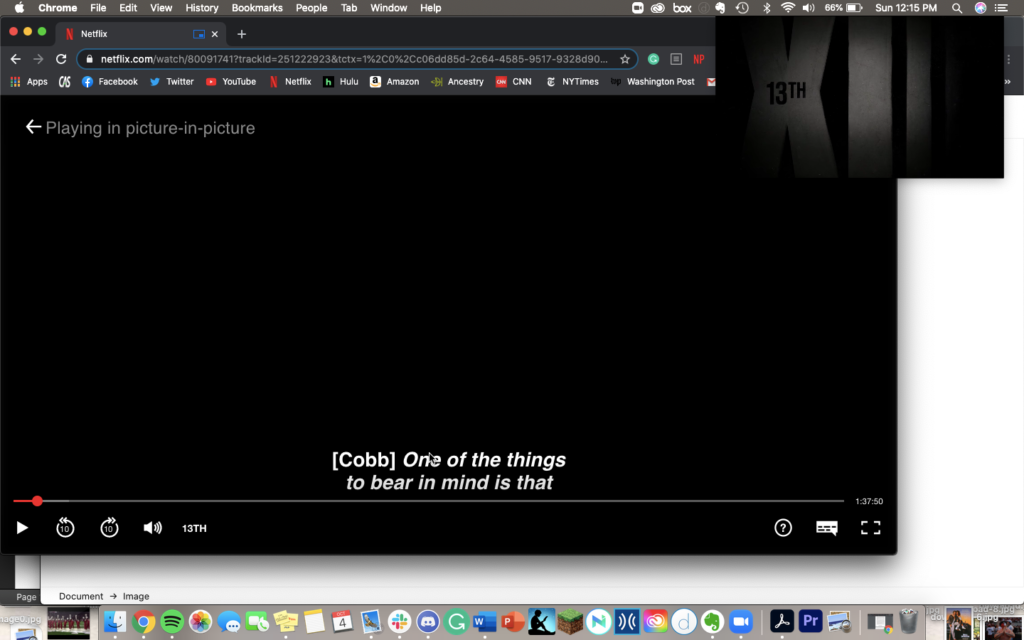
However, the downside to this is if you have closed captioning on, it does not transfer over to the pop-out screen. You can now resize the pop-out screen to whatever size you like allowing you to work and watch on one screen without obscuring overlap.
How to Split a Screen on Mac Laptop
Having two documents up on the same screen is great when working on a paper or outline. But if you don’t know how to split your screen (referring to macOS for this blog post), it can be challenging to get the documents just right. For macOS, there is an easy solution to this.
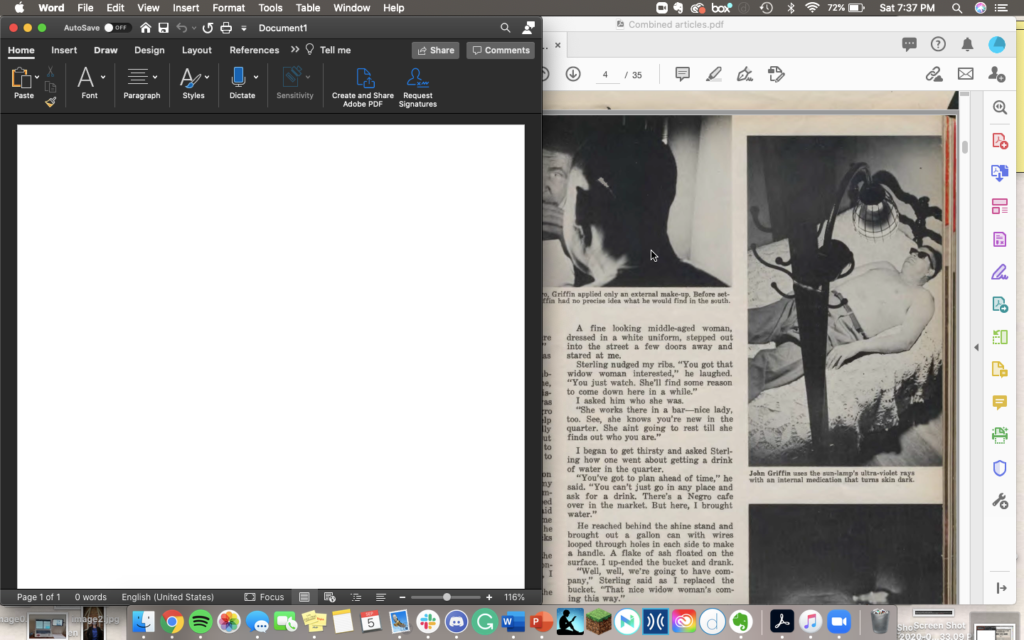
Start by opening what you’d like to work on. This blog post will be using a word doc. and a primary digital source as the example.
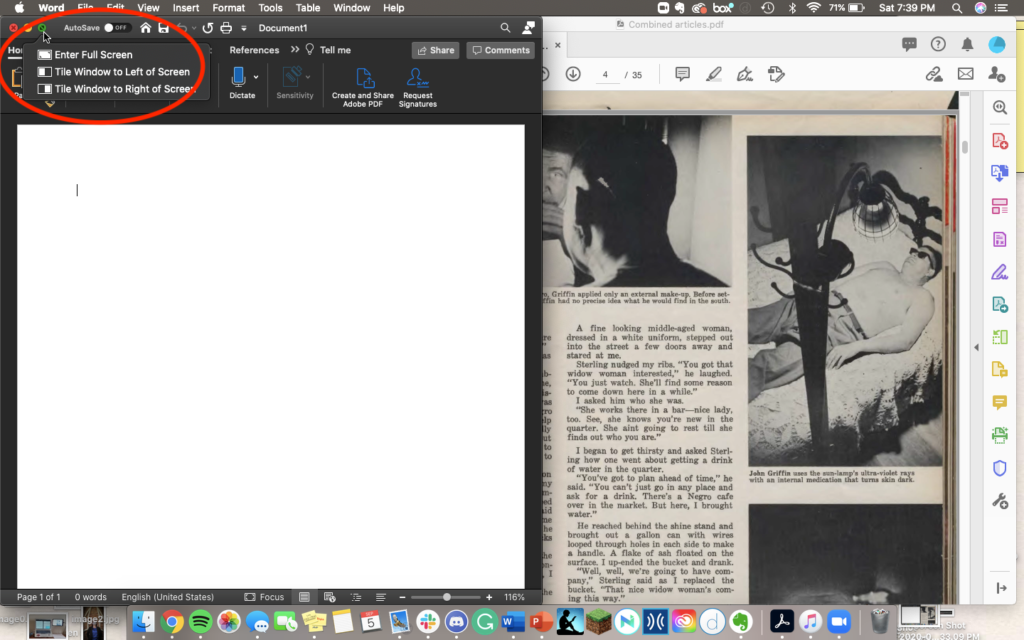
Next, you will want to click and hold the third button on the document in the upper left-hand corner that is green. You will receive the option to title the window to the left or right screen or make the window take up the full screen of your computer.
Once you have decided, your screen will open up, giving you the option of documents to pick from.
Click on the second document you wish to fill the other half of your screen.
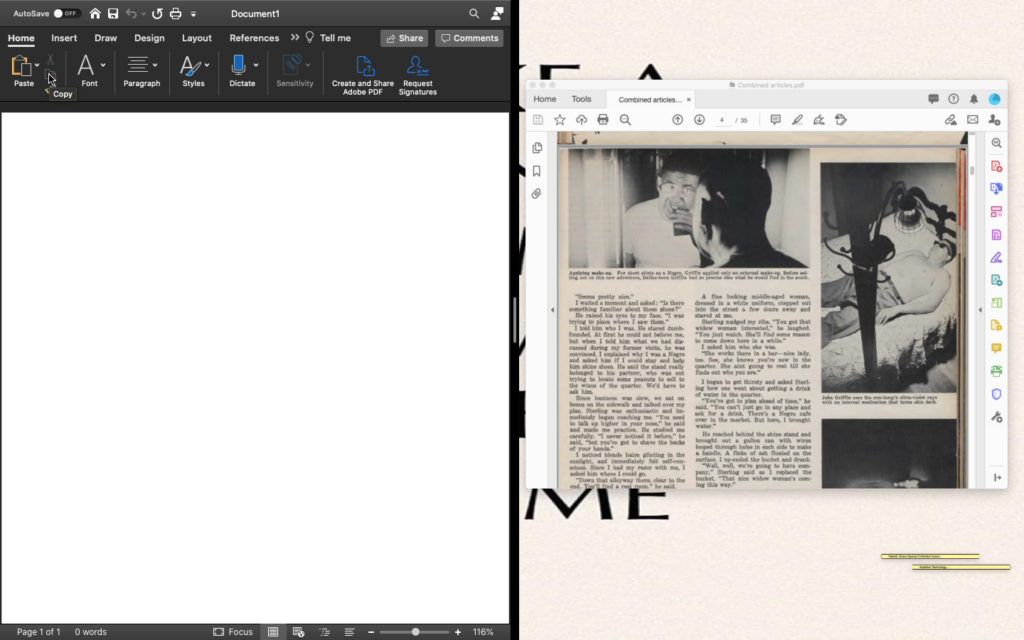
And now, you have a split-screen with two documents you can seamlessly switch back and forth to. I love this option for writing papers because I don’t have to change documents and can have everything neat and tidy on—my screen.
Taking Screenshots on a Computer
Taking screenshots of your computer screen is a great tool for you to use to share things on your screen with your students. You can also record your screen, creating a video of your screen for your students. Recording your screen this way, however, does not show your students your face. There is a Chrome extension that lets you film your face and record your screen, which is called Screencastify. This blog post will take you step by step on how to take screenshots on a Mac computer.
To take screenshots on your computer there are two things you can do.
- Press the keys: command, shift, 3 to take a screenshot of the entire screen like this:

To take a more controlled screenshot, press the keys: command, shift, 5. This gives you an option to capture the entire screen, select a window (like chrome or word), or select a portion that you can shape.
IF you want to record a video of your entire screen or a portion of your screen by pressing command, shift, 5. For this, you should go to the options tab that appears where you can save the video (desktop or documents), set a timer (5-10 sec) before recording, and I suggest clicking on show mouse pointer so the viewer can see what your mouse is doing.
This is what a controlled screenshot looks like if I only wanted to show where you type in a tweet:

Duet Display
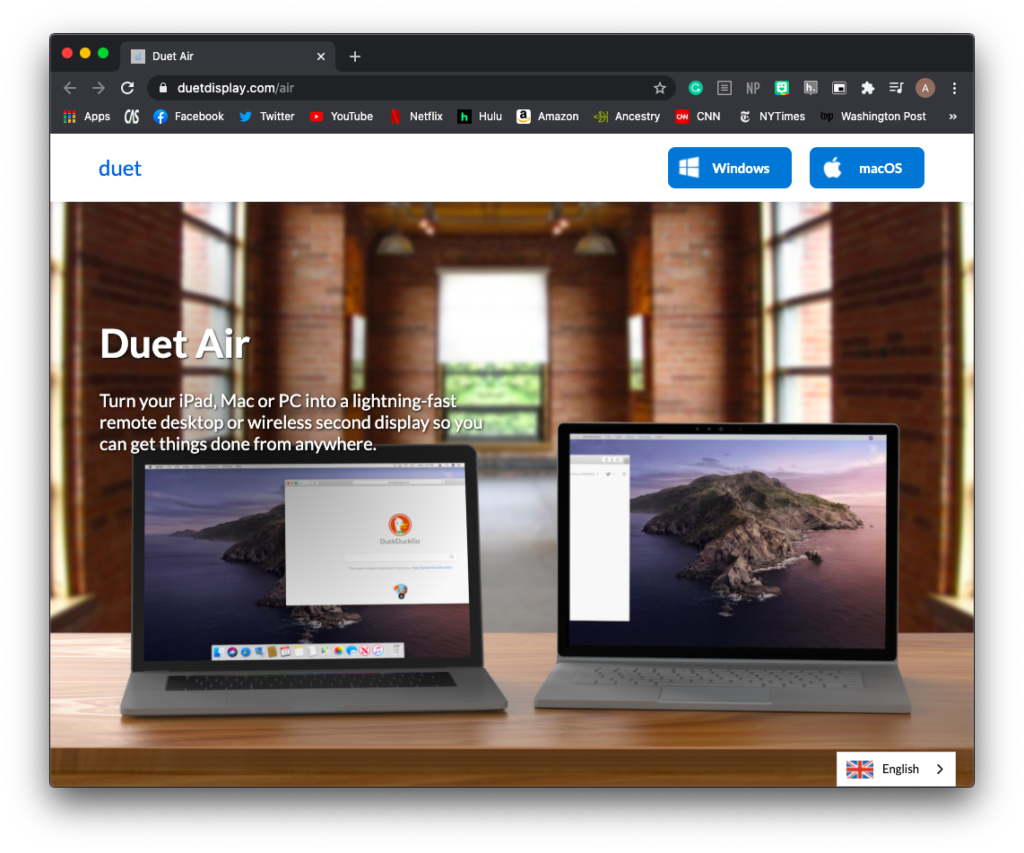
If you want to work on a larger screen or two screens, there is an application you can use on your laptop and tablet. It is called Duet Display and costs $10 but is worth it in my opinion. This application works for both Mac and Windows.
First, click on the link here https://www.duetdisplay.com/air; it will take you to the latest version of duet display, which allows you to connect your device via WiFi. It will take you to a page that looks like this:
Second, for macOS and Windows, click on the designated icons in the top right corner for your computer, and it will begin to download. Don’t forget while you’re doing this; you will need to download duet display for whatever tablet (Apple or Android) you will be using as your second screen. Just go to whichever app store your tablet uses.

Once downloaded follow the installation process for your computer and the icon will look something like this:
Once you have created an account, log into it on your computer app and tablet app; on the computer, the duet app should open and have a page that looks like this:
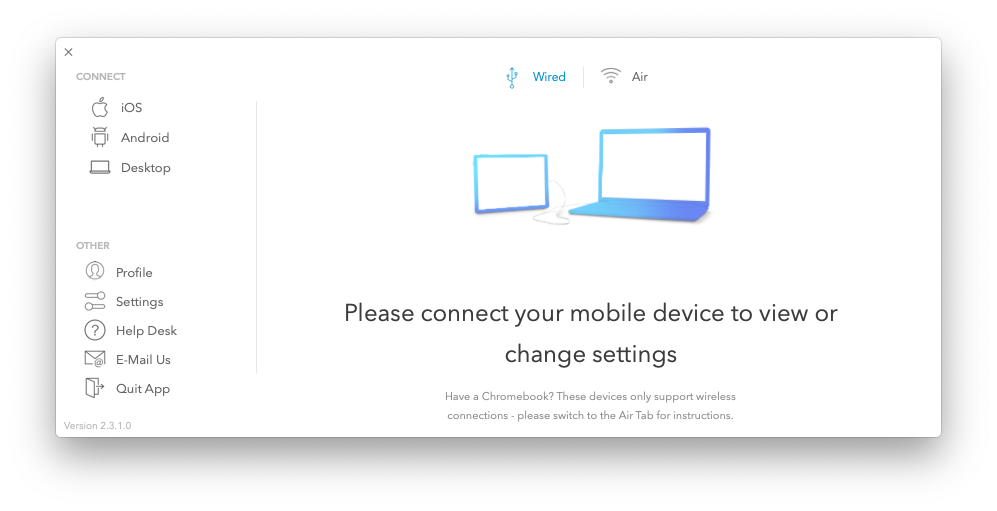
As indicated in the image above, you can connect your tablet via wire or air (meaning WiFi). To connect your tablet, select which brand your tablet is (Android or iOS, i.e., Apple)

a. For wire connection select wired and connect a charging cord from your tablet to your computer. Open up the duet display on your tablet and it will connect via the cord. Once there you can change the resolution and size of the new second screen.

b. For air (WiFi) connections the setup is similar. On your computer select the model of your tablet (for me it is Android) and then click on the air icon.
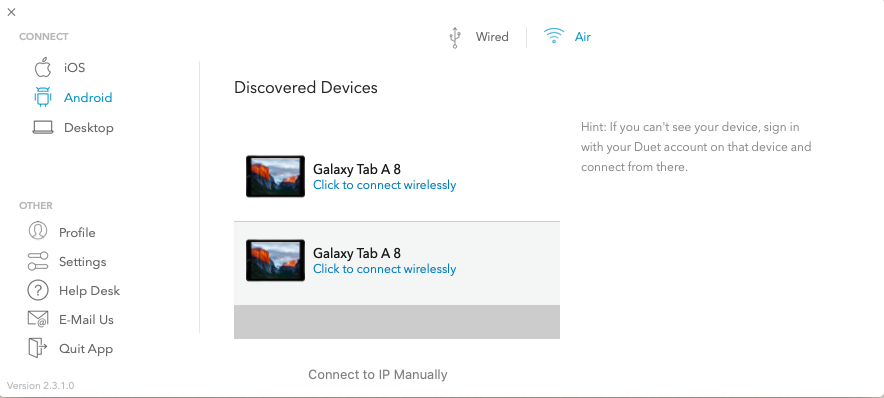
c. Once you open up duet display on your tablet the computer should pick it up on your device via the WiFi and should look something like this:
d. Click on the connect wirelessly link and this should now allow your tablet to be your second screen. With the end result being a page like this to appear on the desktop to allow you to change the resolution:
An added step to help with your new double screen is making sure the tablet is on the side of your computer you want it to be on. Full discretion I have only done this on Mac, and so this part is for a Mac computer.

a. Go to System Preferences and click on the displays icon.
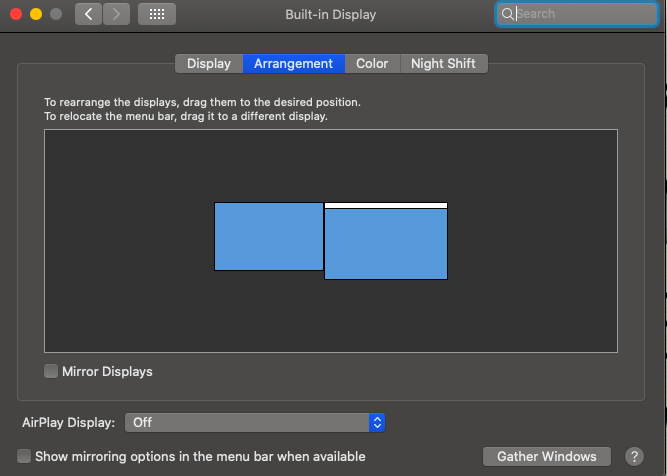
b. Once you are connected via cable or WiFi click on arrangement. The screen with the white bar above is your laptop (the desktop) screen and the second screen with no white bar is the new second screen (your tablet).
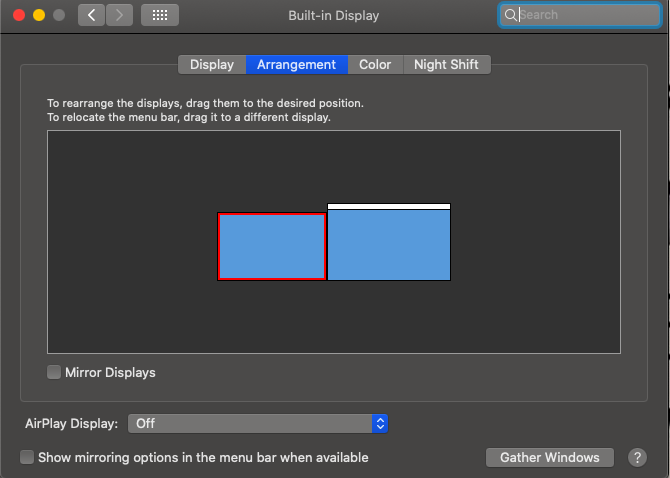
c. It is easy to move by simply clicking on the second screen and dragging it to the side of the computer you wish it to be on. A red outline will form around the second screen.
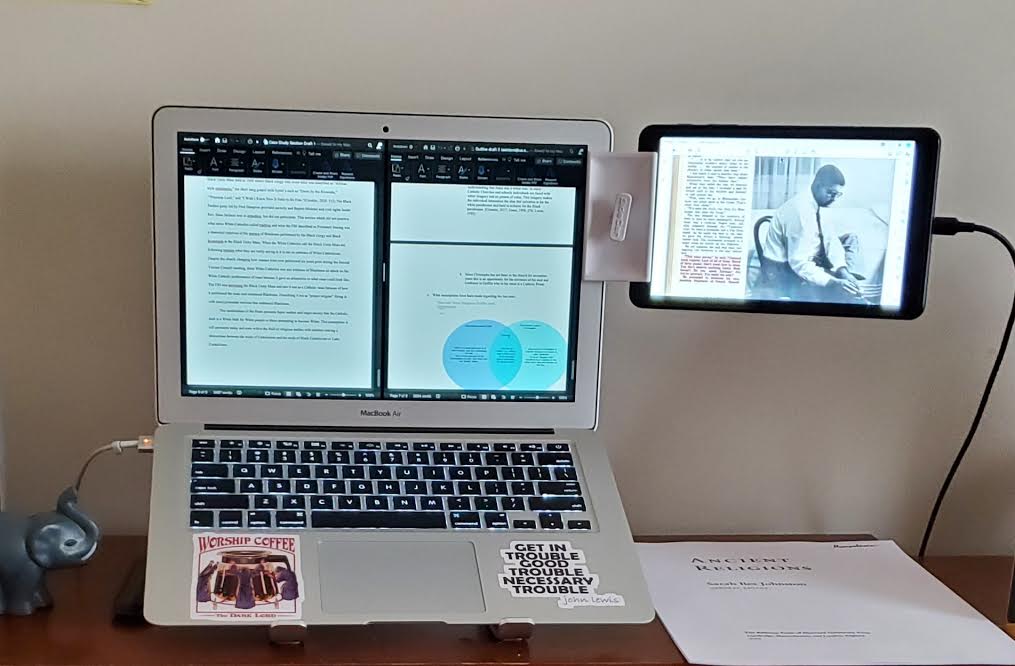
Once you have the set up the way you like it, you can now drag web browsers, images, word documents onto whichever side you have now designated your second screen. If you want to have your tablet connected to your computer as I do in the photo at the top of the page, you can go to Amazon and get one for yourself.