Home » Online Teaching
Category Archives: Online Teaching
Adding Closed Captions to Adobe Premiere Pro Videos
When I started making videos for students, I wanted to make the videos as accessible as possible. One way to do this would be to add Closed Captions to my videos. Adobe Premiere Pro allows users to create their own captions for their videos, but you have to put them in manually. This can be a little tedious, I won’t lie, but I think it is 100% worth the effort to make the videos accessible to all.
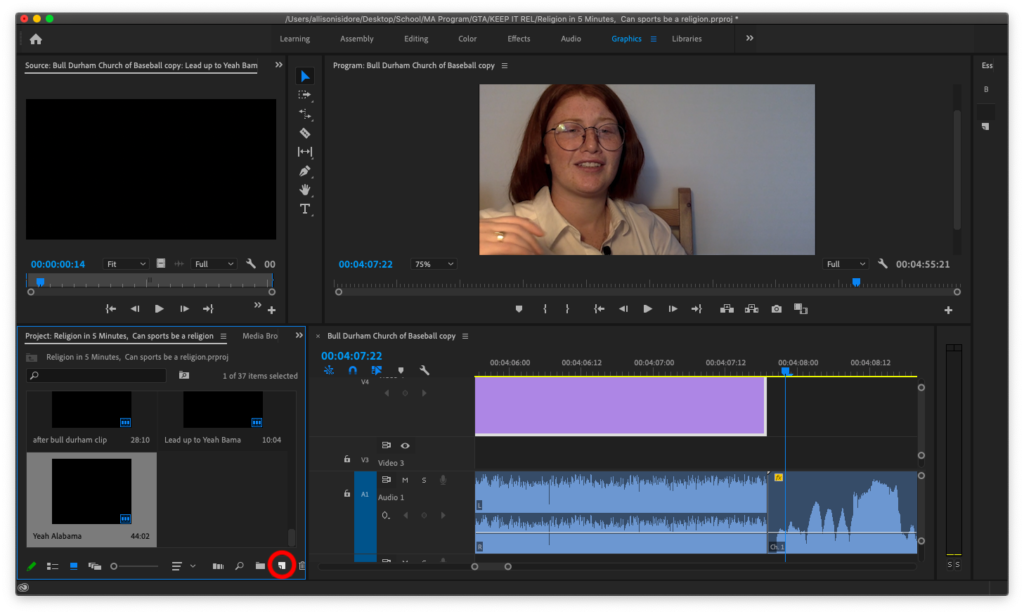
I recommend uploading all the video and audio clips to Premiere and placing them in the order, you want your video to play. Next, go to the left-hand corner where all the media is stored. There is a small icon with a folded corner called “New Item.”
Once you click on it, a menu should appear with a list of things you can now add to your video. But for our purposes today, you will want to click on the Captions.

A new menu will appear, with several caption options to choose from, including open and closed captions. Closed captions simply put allows the viewer to choose whether they want to have captions on the screen. While open captions are always on the screen, for a video, if you want to have closed captions on in Premiere, you should choose between CEA-608 and CEA-708. But if you want to have open captions in your video, then pick Open Subtitling.


After you pick, a new caption box will appear in the project file in the lower left-hand corner. Next, drag the caption file over your video file in the editing panel on your right and a purple bar will appear. What I do now, is drag the purple box the length of the video file this way I can have different sections of captions per video clip.
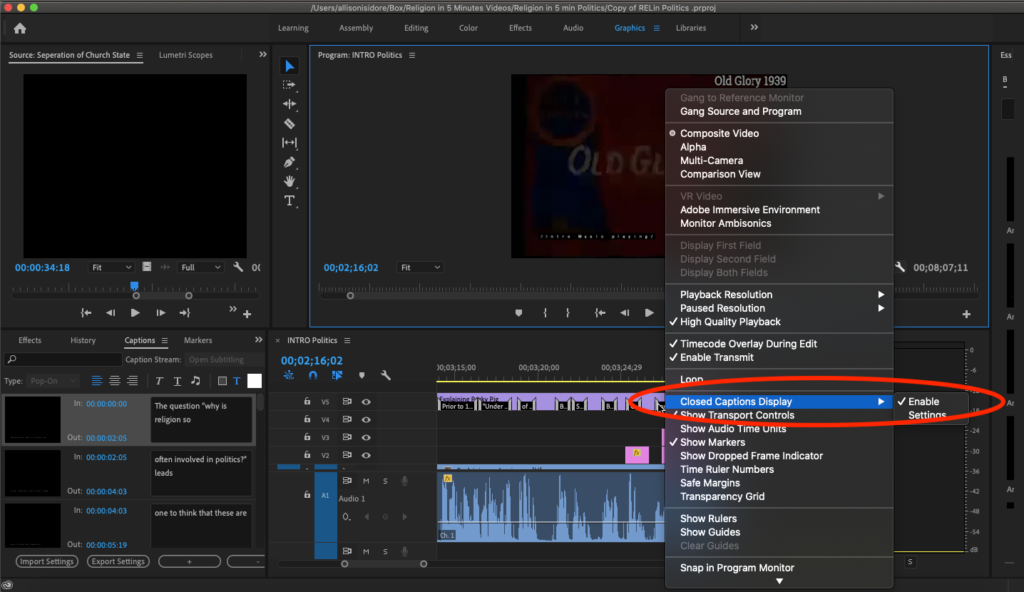
In order to see the captions while you write them onto the video, you must enable them. To do this, click on the little hand wrench icon under the video, which says, “Settings.” Once the menu opens, scroll down to the Closed Caption display and click on Enable. You should see your captions on the video display while you are writing them out. This is very important.
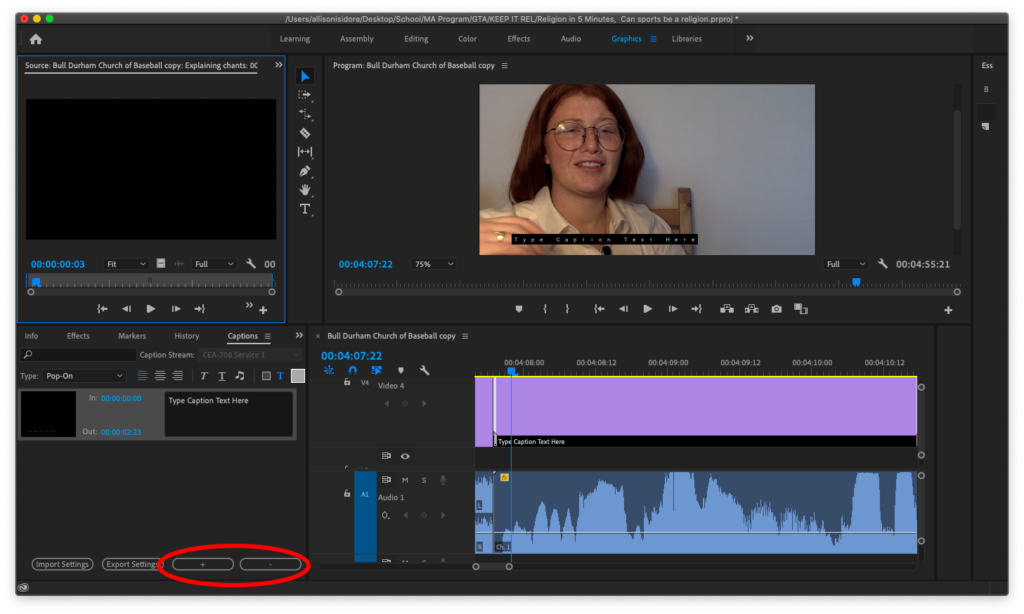
Now comes the tedious part. There is only so much space to write the caption, and depending on the word length, you might only be able to fit four or five words in the box. To add more caption boxes, go to the bottom of the caption editing screen, click on the plus or minus signs. Once done, you’re ready to export your video; you will have a few export choices for captions. The first is to create a sidecar file that will allow your viewer to decide whether or not they want captions on the video. The second is to burn your captions into the video; in this case, the captions will automatically become a part of the video, and the viewer cannot turn them off. I choose this option because it makes it easier for those who might not know how to turn captions on will have them on the video already.
How to Split a Screen on Mac Laptop
Having two documents up on the same screen is great when working on a paper or outline. But if you don’t know how to split your screen (referring to macOS for this blog post), it can be challenging to get the documents just right. For macOS, there is an easy solution to this.
Start by opening what you’d like to work on. This blog post will be using a word doc. and a primary digital source as the example.
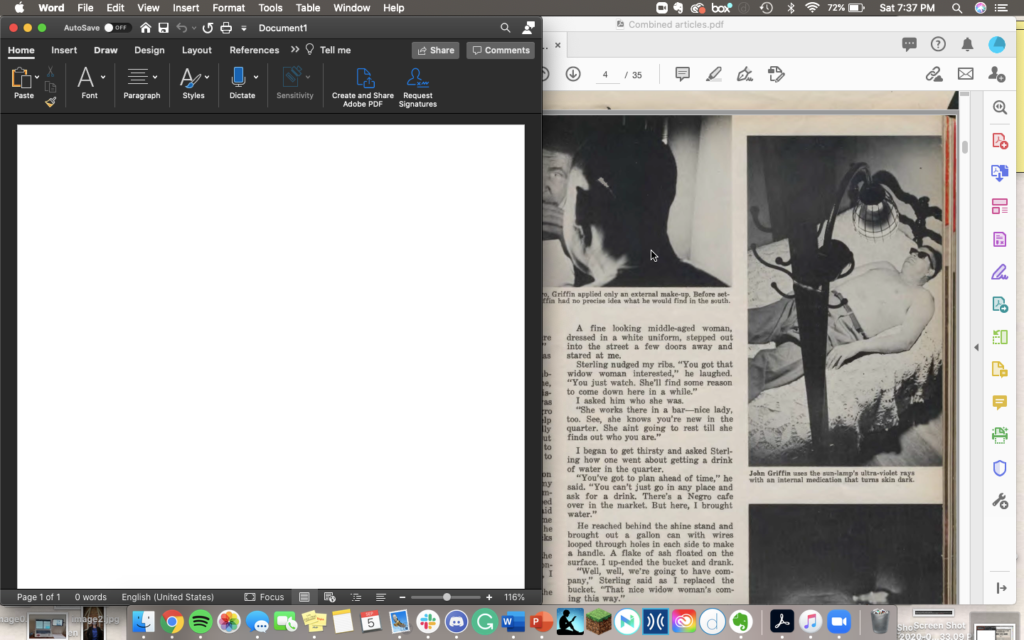
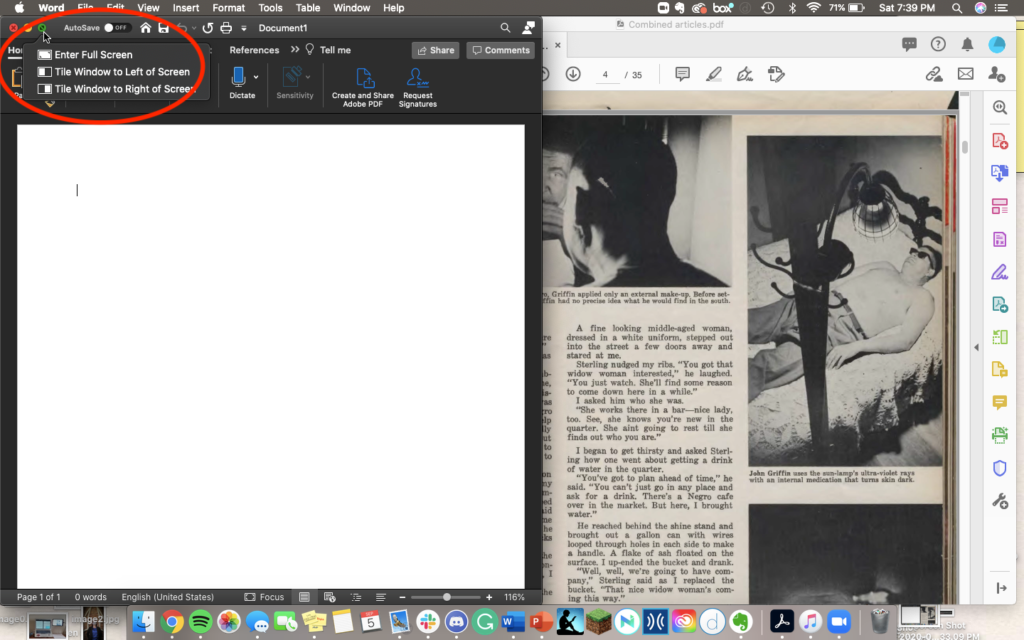
Next, you will want to click and hold the third button on the document in the upper left-hand corner that is green. You will receive the option to title the window to the left or right screen or make the window take up the full screen of your computer.
Once you have decided, your screen will open up, giving you the option of documents to pick from.
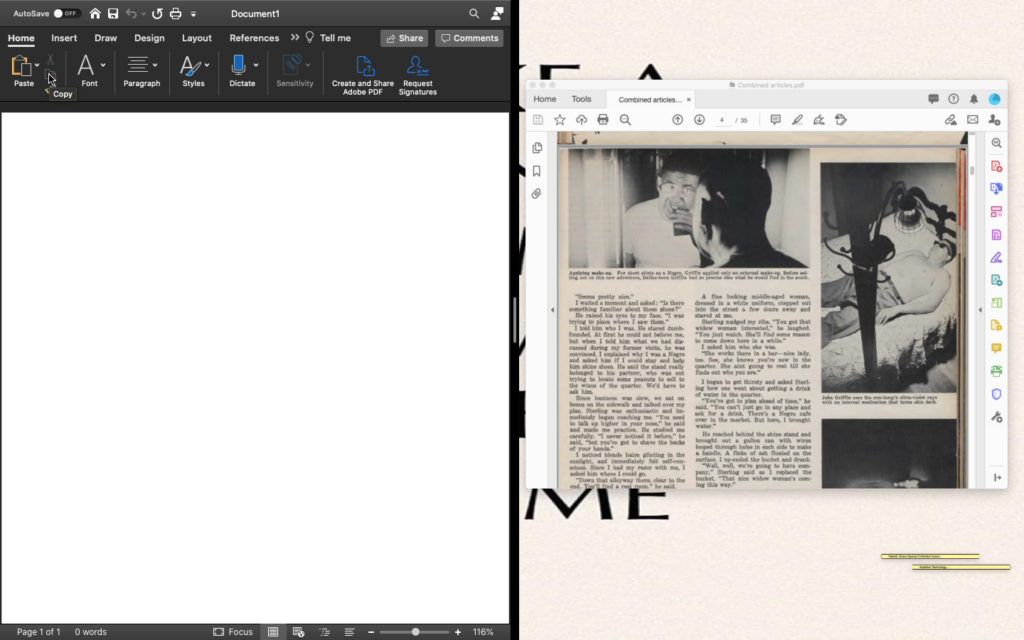
Click on the second document you wish to fill the other half of your screen.
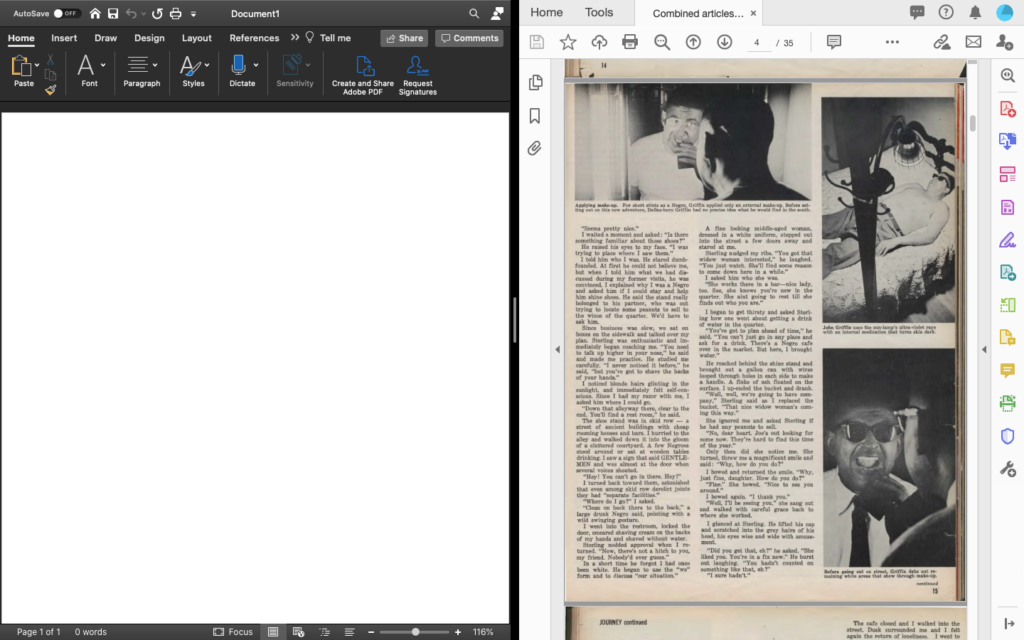
And now, you have a split-screen with two documents you can seamlessly switch back and forth to. I love this option for writing papers because I don’t have to change documents and can have everything neat and tidy on—my screen.
Uploading your Avatar to Blackboard

To keep engaged with my students, I use my digital avatar as one way to do that. It can be a little tricky if you have never done this before. This post will be about how to upload an image or digital avatar to Blackboard.
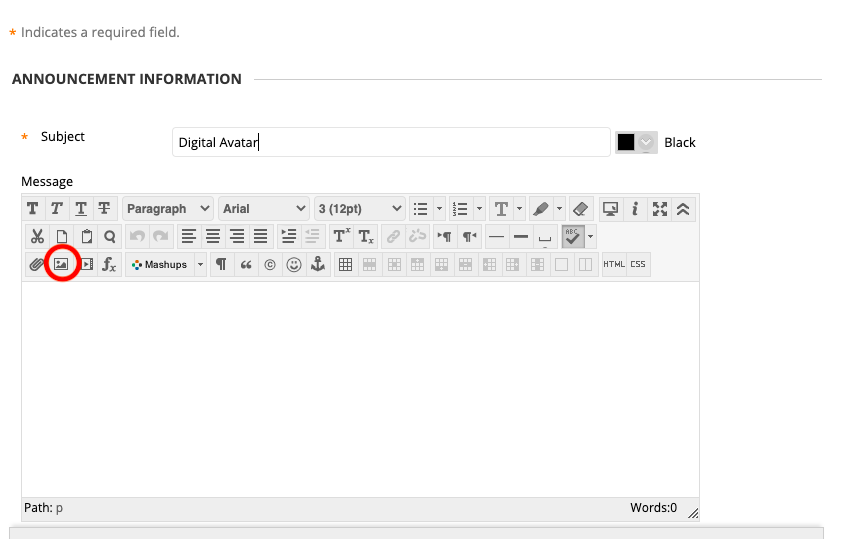
Start by opening up the email/announcement/assignment in Blackboard that you would like to attach your image or avatar too. As you see, there are many different icons you can choose from. The one circled in the image below is the one you will want to click on.
Once you click on it, a second window will pop up. Before you click on browse my computer, you will want to have your image or avatar ready. If you are using a Bitmoji, go to the Bitmoji extension and drag your desired avatar image to the desktop of your computer.

Once you are prepared click browse my computer and locate the image or avatar you would like to use.
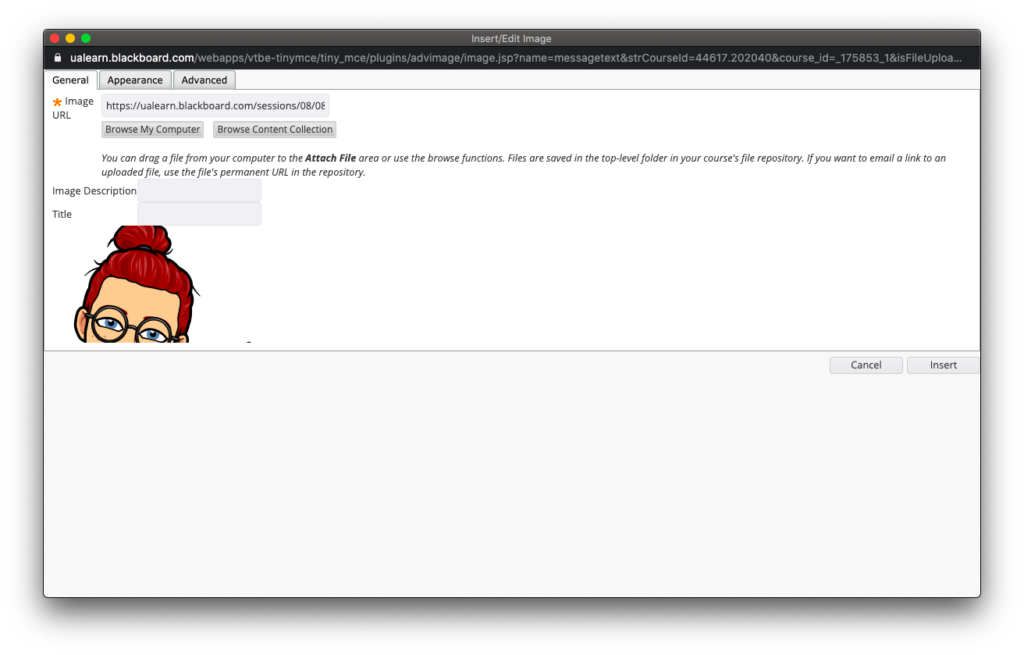
After that, click on insert. It will take you back to the Blackboard email/announcement/assignment you were working on.

As you can see, my avatar is quite large. Using your mouse, highlight the image until prongs surround the image. Once the image is highlighted, you can resize the image or avatar.
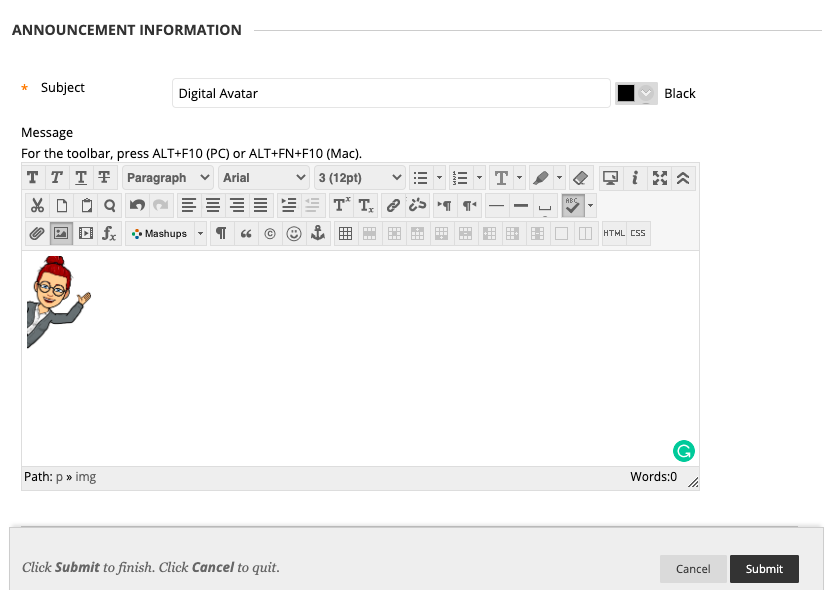
With your image resized you can now engage with your students using your digital avatar!
Emailing Students on Blackboard
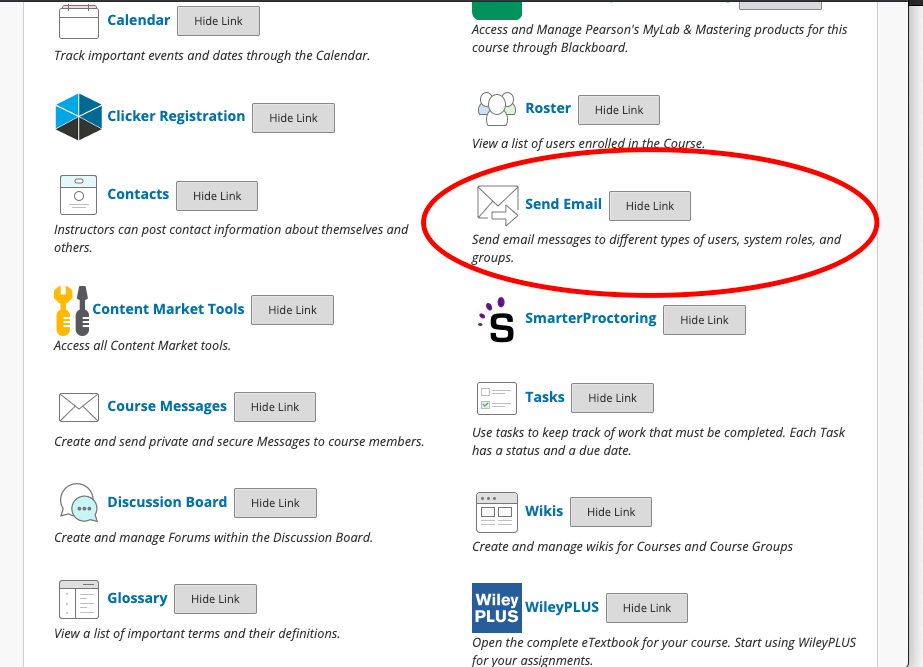
Emailing students is one way to stay in contact with your students and is really important to the survival and success of your course. Before a course starts make sure to send an email out to all the students with the syllabus and course schedule attached. First, go to and click on your tool panel on Blackboard.

Depending on your Blackboard layout your email tab may be in a different location but it should look like this:
Once you click on the tab you will be taken to a page with a few different options for who you want to email. You can email all course participants that may include students, teaching assistants, other professors, supervisors what have you. Or you can email individual people in the course.
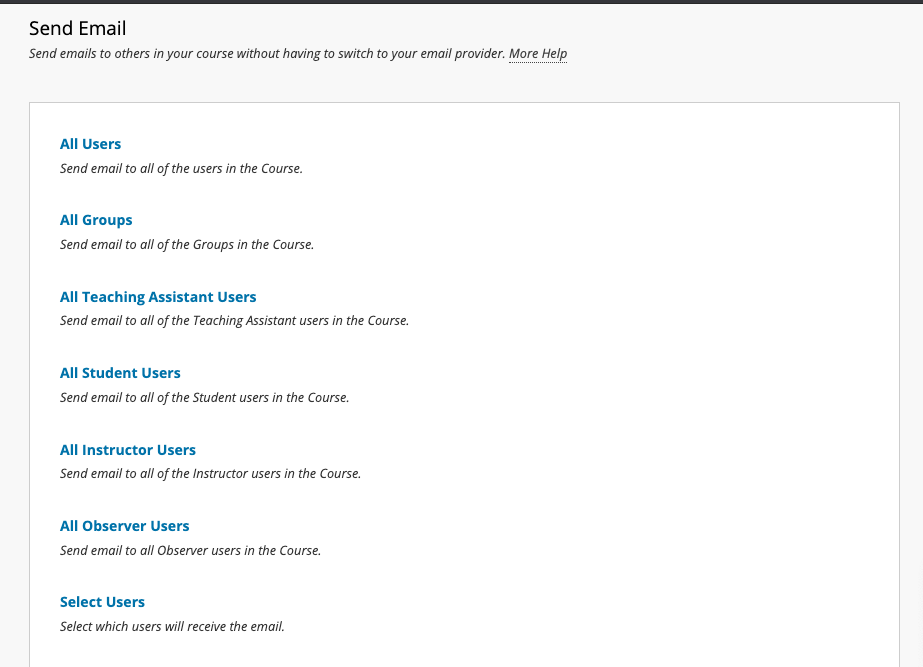
To send an email to everyone just click on All Users. It will take you to this page:
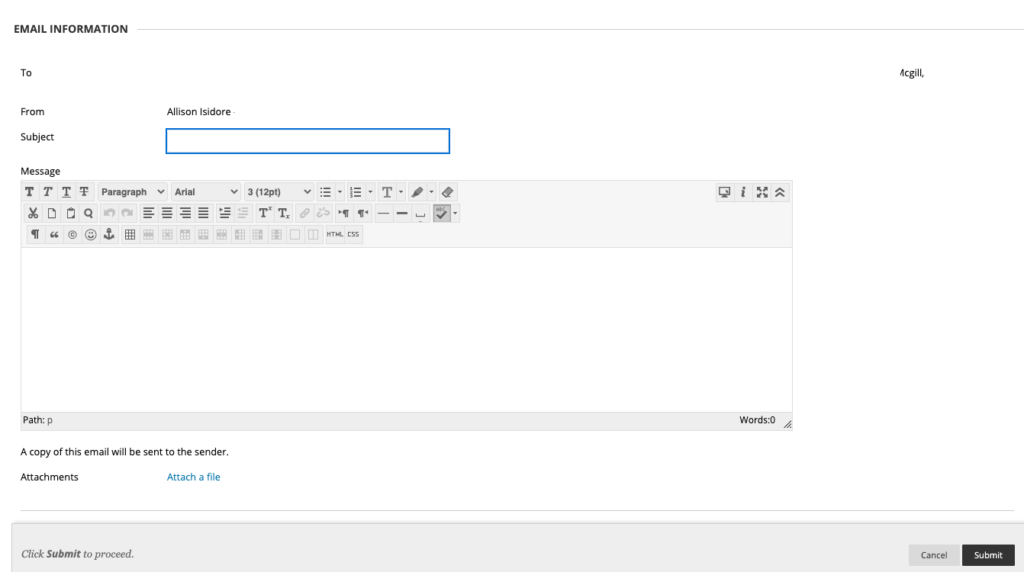
Which will have all the students’ emails and any additional participants and your email listed. You can attach any documents you need to in this email. I send an email out to all my students before our course is supposed to start, and with COVID-19, I added some additional things that generally would not be included. This is what I sent:
Good Afternoon, Students of REL 104!
I hope this email finds you well. My name is Ms. Isidore; I will be your instructor for your fall course REL 104: Religion in Pop Culture! I am sure you know that our course begins a week from today, so I wanted to reach out to you all with some important information before we start.
- Please make sure you are registered for the correct course. Once again, this is the email list for the class REL 104: Religion in Pop Culture. If this is not the class you intended to sign up for, please contact the registrar as soon as possible and correct the mix-up.
- This course is an entirely online course. There is no face-to-face component to the course, and you do not have to be on campus to take this course.
- I am attaching the syllabus and the fall course schedule. It is highly recommended that you read through the syllabus and course schedule before our class begins, so you are familiar with what is to be expected. I recommend downloading or printing out copies for your own record and even put due dates for your assignments into a calendar. These documents will be available to you on Blackboard next Wednesday, August 19, but keep in mind that fall course tends to move much quicker than fall and spring semester courses. I recommend that you log into Blackboard as soon as possible next Wednesday to make sure you have access to the course material and content.
- To avoid as many technical issues, I recommend making sure you have (and if not) downloading Firefox. UA Tech Support has recommended using Firefox when using blackboard and uploading assignments.
- Most importantly, we are all aware that we’re living through an unprecedented time with regards to COVID-19. With this in mind, I am aware that we may encounter some difficulties this fall in regards to web access, living situations, health issues, etc. Please be mindful as your instructor; I am here to support you the best that I can throughout this course. But, I cannot help you if I am not aware of your situation. Thus, it is your responsibility to keep me informed of anything that may come up so that I can make necessary accommodations as efficiently as possible. My email policy is that I will respond within 24 hrs. of receiving an email; if it is urgent, please indicate so in the subject. Please do not hesitate to get in touch with me for any questions or concerns you may have. I don’t have scheduled office hours, but I’m happy to set up a zoom meeting or phone call if you wish to talk.
I am very excited and look forward to working with and getting to know all of you this semester.
Warmly,
Professor Isidore

Creating and Scheduling Announcements on Blackboard
Keeping in contact with students is extremely important. If your university is using Blackboard, one way to do this is by creating announcements. But if you have not used Blackboard before or as much for your course, it can be a little confusing. This blog will show you how to create announcements for your students.
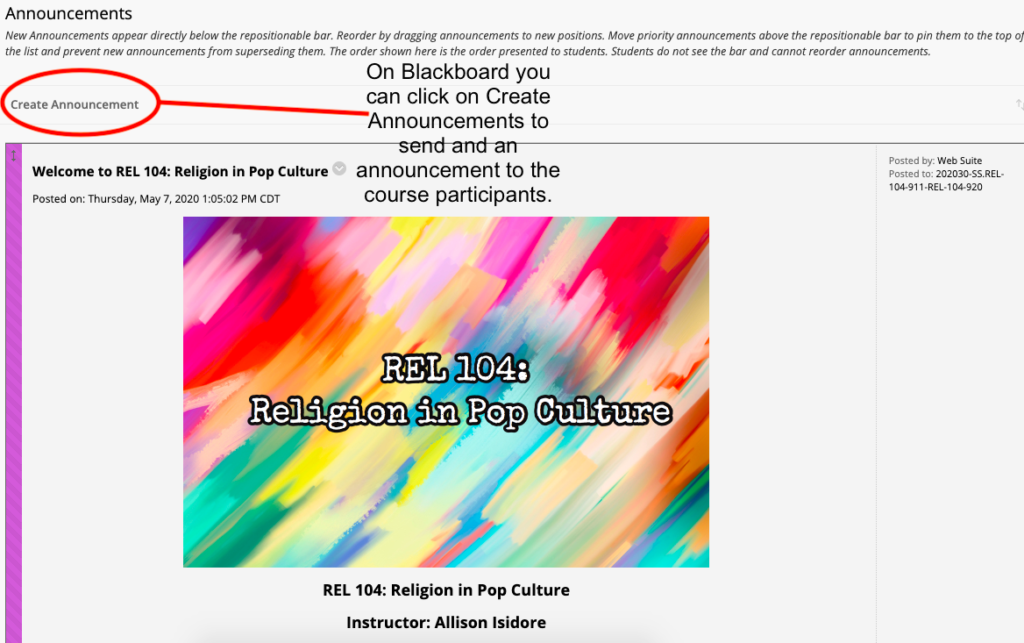
Start by clicking on Create announcements on your blackboard course homepage.
Once you have clicked on create announcement it will take you to this page. Here you can write an announcement to your students. I usually send out an announcement about the upcoming assignment due date.
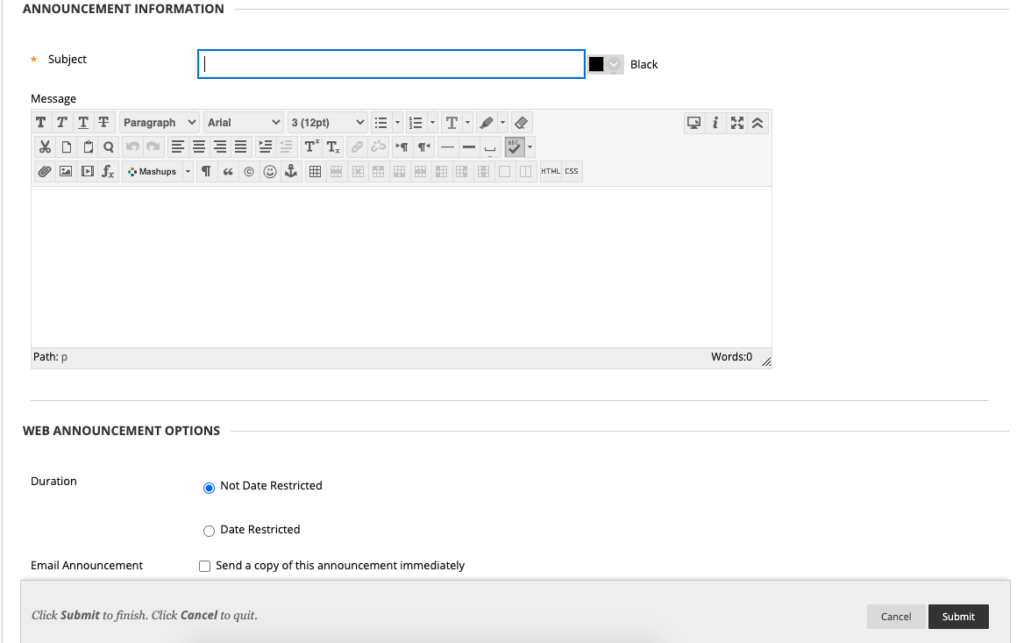
You can prewrite announcements by scrolling down and clicking on date restriction. This sets the date and time for when students can see the announcement. When making regular announcements I recommend clicking on send a copy immediately to have a copy in case a student claims they did not receive the announcement.

My first announcement said the following which I assigned to be sent out the day our class started at 7 am:
Hi class,
Welcome to REL 104 online course. If you have not yet done so, please log into the course and complete the intro module, review the SYLLABUS, and download the SCHEDULE. Also, be sure you complete Module 1 by August 20, as indicated on the schedule. I will communicate with you periodically via email and announcements, so be sure to check your email regularly throughout the semester. Likewise, if you need anything from me, please reach me via the Blackboard MAIL link or email me at . Note that, as said on the syllabus, I will respond to all emails within 24hrs and if it is urgent, please indicate so in the subject.
I am looking forward to a great semester!
Warmly,
Professor Isidore
This announcement can be found on our home page so students can go back and see both when the first assignment is due and what my email policy is.
Creating a Digital Avatar

For the University of Alabama, I am an instructor of record for some of the online courses for the Religious Studies department. One way to engage with the students is to have them add an avatar that represents themselves after they have completed an assignment. I also add an avatar to my emails and announcements to engage with the students as well. I use the application Bitmoji to create my digital avatar. This blog will show you how to create your own Bitmoji and add it to your computer.
Phone Application
To start, you will want to go to your smartphone and download the app Bitmoji. Once you open up the app, you will want to create an account with an email. Once you log in, you can customize your avatar to look like whatever you would like. Once done, you now have a digital avatar that can have captions or not, but there are hundreds of ways to use the avatar. I use my avatar to engage with my students by adding them to my announcements and emails. This is what my avatar looks like.


Chrome Extension
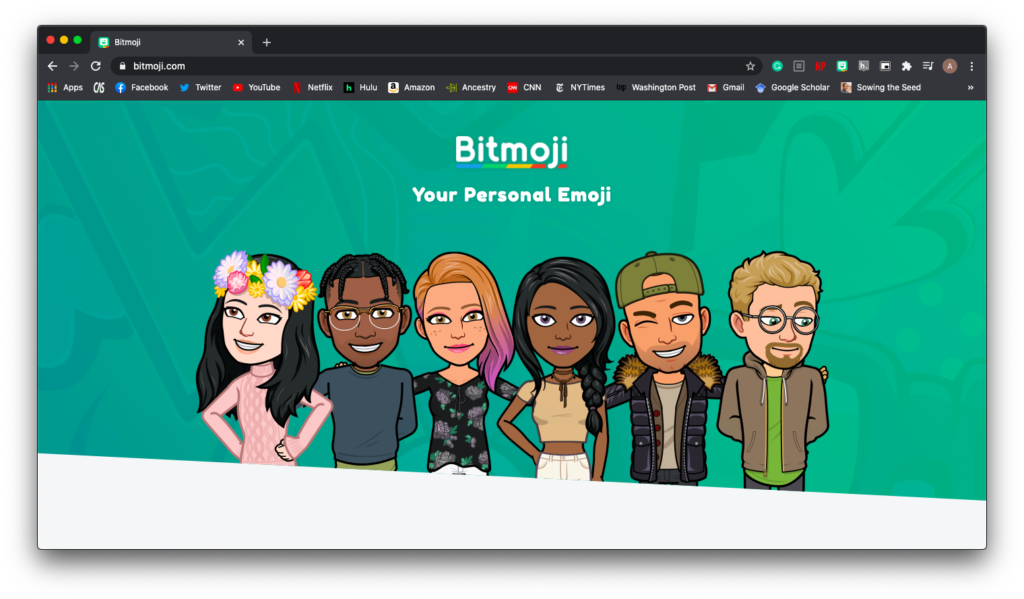
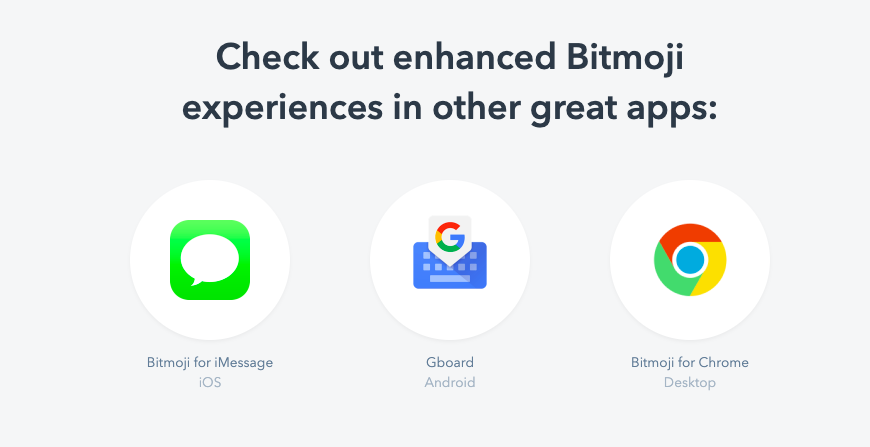
Once you have finished setting up your avatar on the app, you will go to bitmoji.com. It will take you to a page that looks like this:
Scroll to the bottom of the page and click on the icon that says Bitmoji for Chrome.
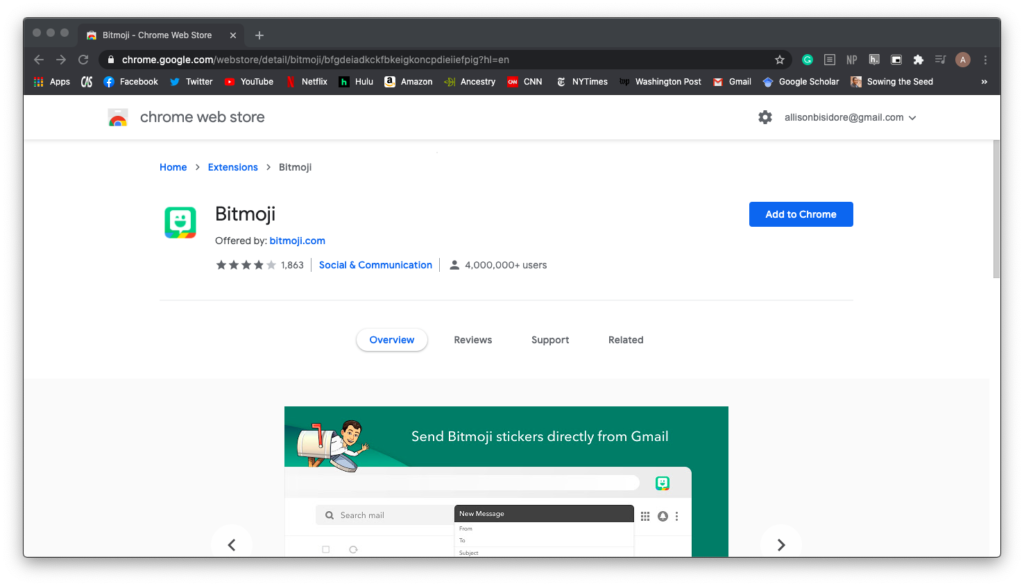
It will take you to the Chrome web store. You will click on add to Chrome.
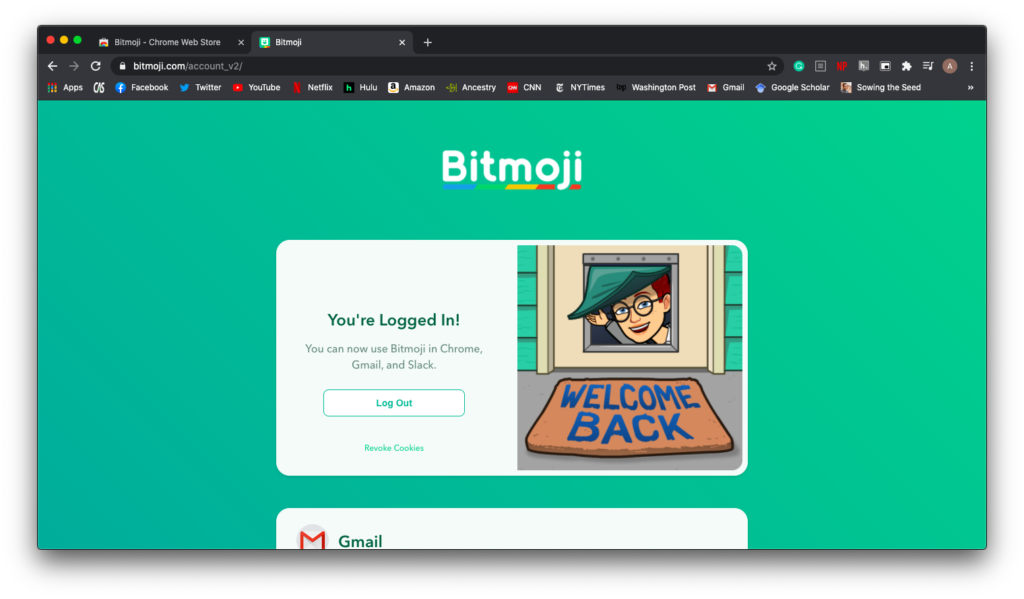
Once it is added, you will log into the account that you set up on your phone.
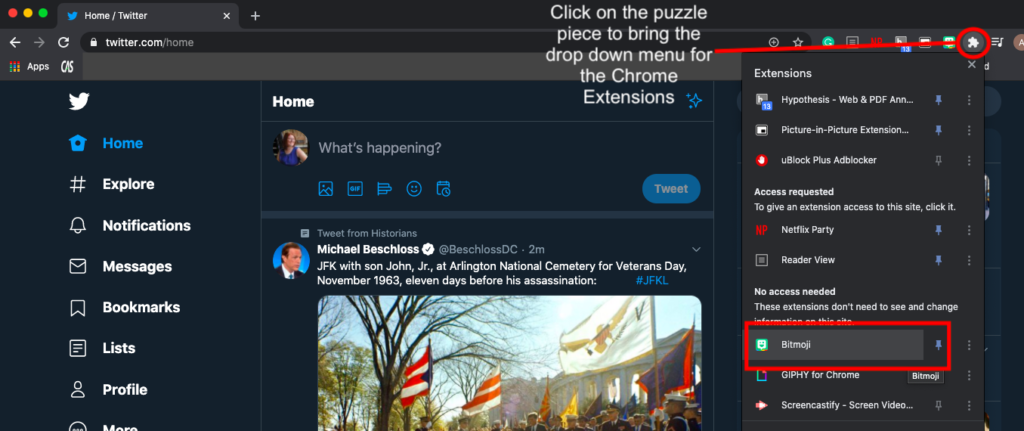
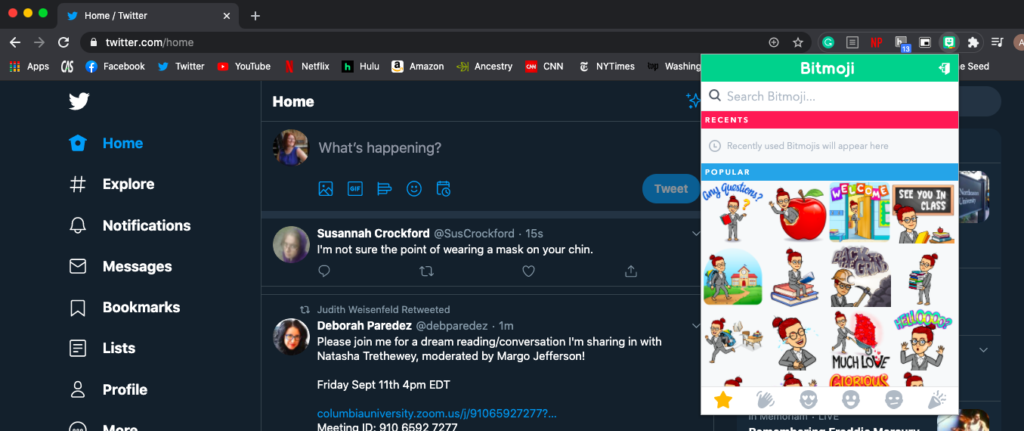
To add Bitmoji to your Chrome browser, you click on the little puzzle piece icon on your chrome web bar. It will pull down all the extensions available for your browser and click on the small pin next to Bitmoji. This will allow easy access to your avatar!
Now click on the Bitmoji icon, and you can type into the search bar to look up an activity for your Bitmoji to be doing. Drag your mouse over the Bitmoji action you want and grab it. You can now add your Bitmoji to the word document.
You now have a digital avatar you can use to engage with your students in your digital classroom!