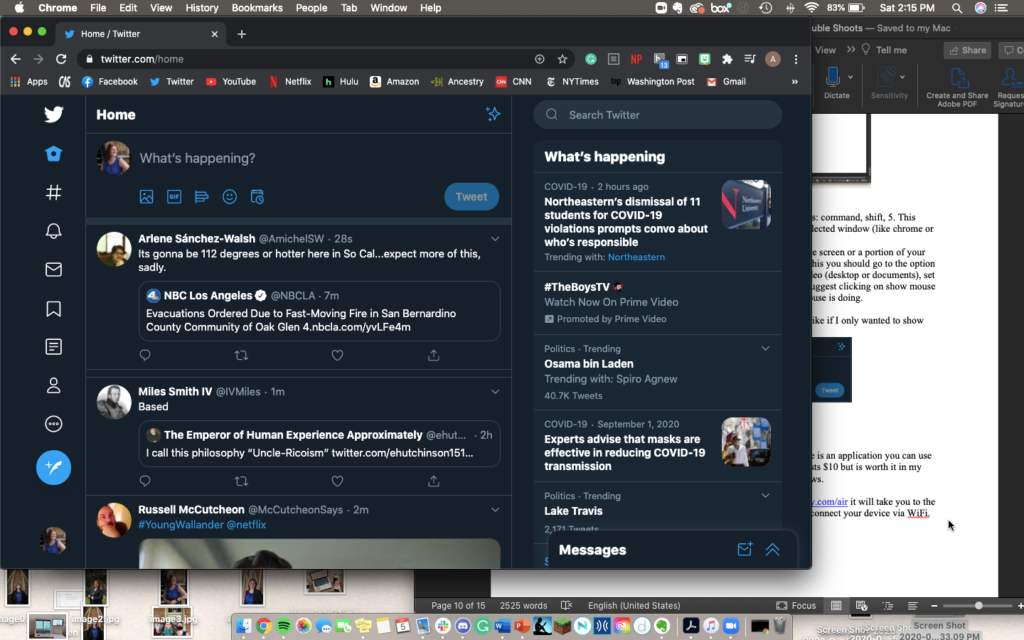
Taking screenshots of your computer screen is a great tool for you to use to share things on your screen with your students. You can also record your screen, creating a video of your screen for your students. Recording your screen this way, however, does not show your students your face. There is a Chrome extension that lets you film your face and record your screen, which is called Screencastify. This blog post will take you step by step on how to take screenshots on a Mac computer.
To take screenshots on your computer there are two things you can do.
- Press the keys: command, shift, 3 to take a screenshot of the entire screen like this:

To take a more controlled screenshot, press the keys: command, shift, 5. This gives you an option to capture the entire screen, select a window (like chrome or word), or select a portion that you can shape.
IF you want to record a video of your entire screen or a portion of your screen by pressing command, shift, 5. For this, you should go to the options tab that appears where you can save the video (desktop or documents), set a timer (5-10 sec) before recording, and I suggest clicking on show mouse pointer so the viewer can see what your mouse is doing.
This is what a controlled screenshot looks like if I only wanted to show where you type in a tweet:
