Having two documents up on the same screen is great when working on a paper or outline. But if you don’t know how to split your screen (referring to macOS for this blog post), it can be challenging to get the documents just right. For macOS, there is an easy solution to this.
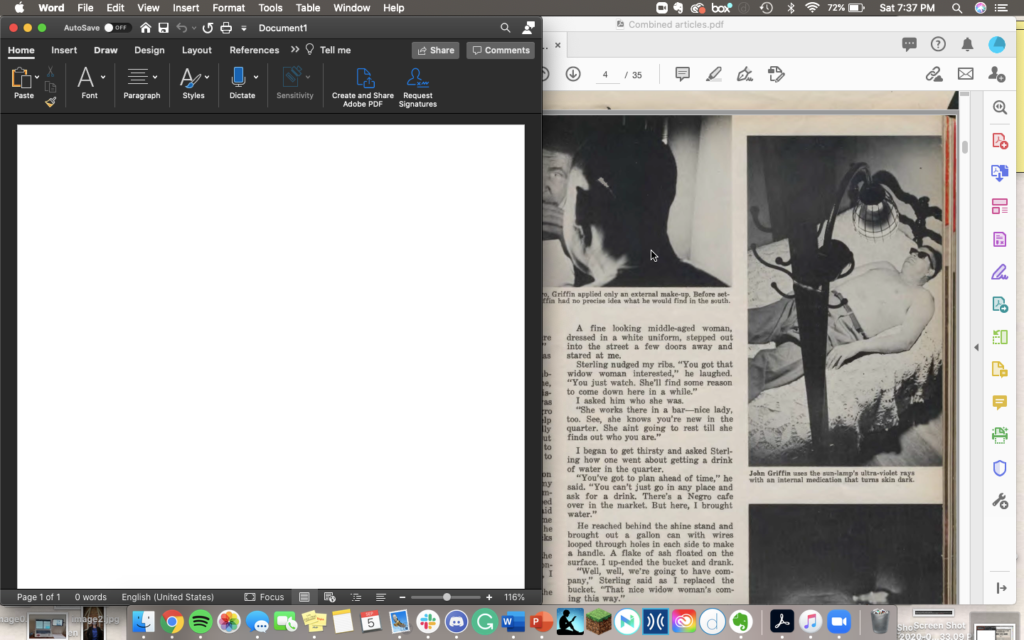
Start by opening what you’d like to work on. This blog post will be using a word doc. and a primary digital source as the example.
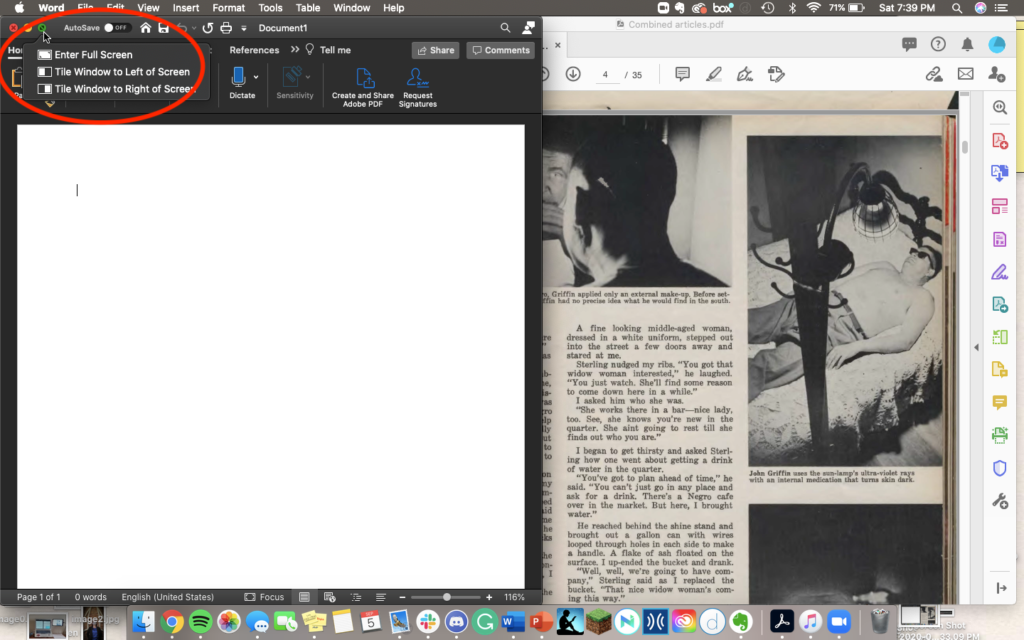
Next, you will want to click and hold the third button on the document in the upper left-hand corner that is green. You will receive the option to title the window to the left or right screen or make the window take up the full screen of your computer.
Once you have decided, your screen will open up, giving you the option of documents to pick from.
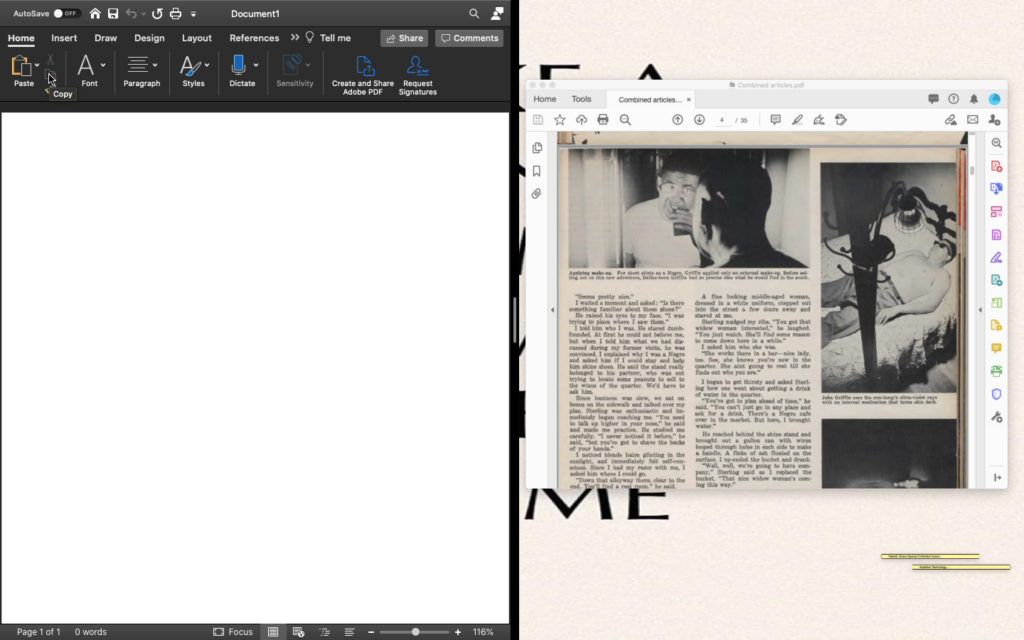
Click on the second document you wish to fill the other half of your screen.
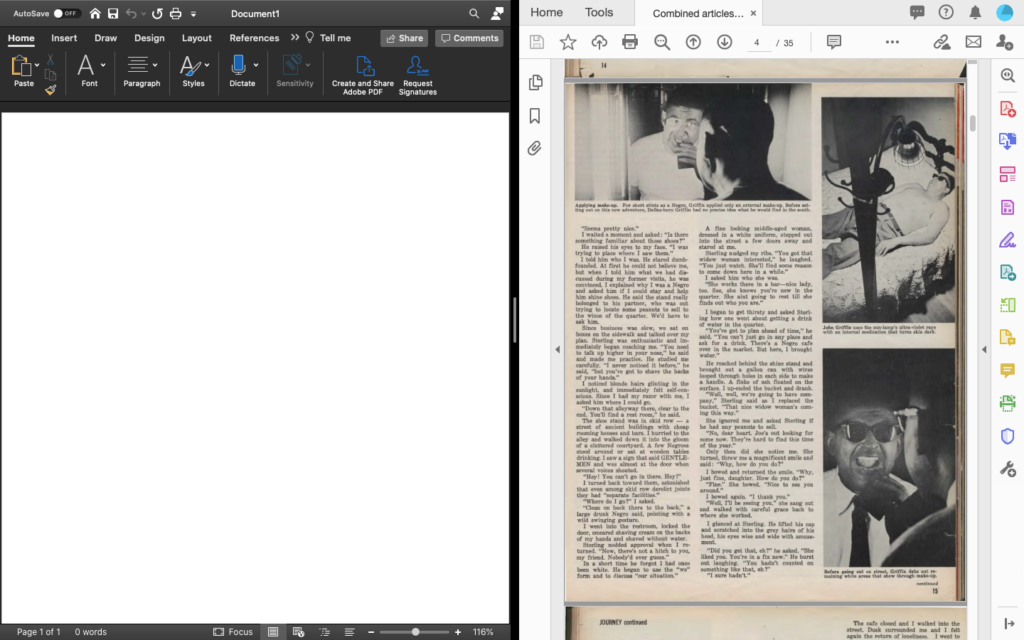
And now, you have a split-screen with two documents you can seamlessly switch back and forth to. I love this option for writing papers because I don’t have to change documents and can have everything neat and tidy on—my screen.